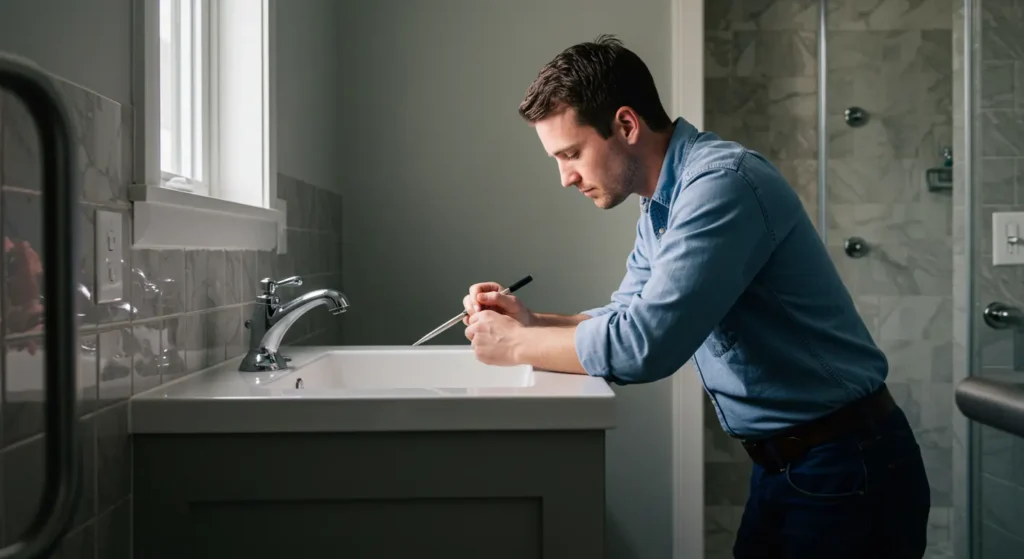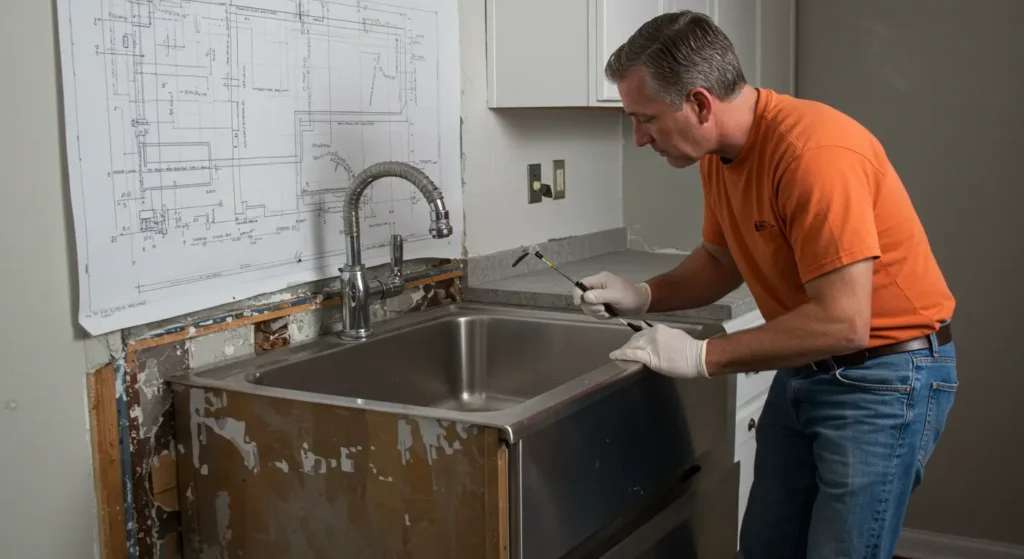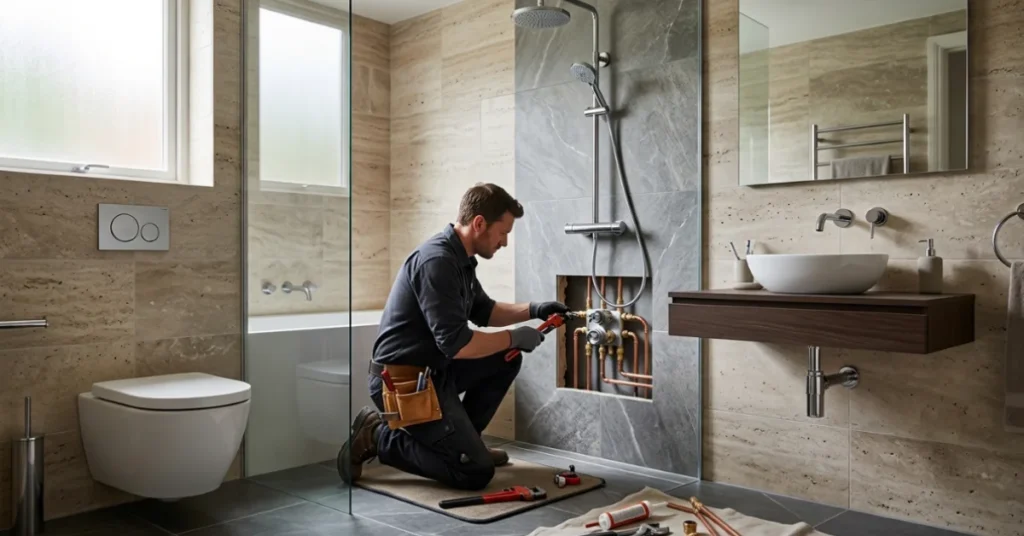

A kitchen or bathroom remodel can look simple on the surface, but plumbing work needs careful planning before walls or floors are opened. Good plumbing upgrades for modern homes help prevent leaks, drainage problems, and costly changes later.
Start by checking the existing water, waste, and vent lines before choosing the new fixture locations. Keep toilets, sinks, showers, and other fixtures close to their current plumbing zones when possible.
Choose the right pipe materials and sizes for water supply and drainage, while keeping the required pipe slope. Finally, check local plumbing codes, install shut-off valves, test the rough-in system, and complete an inspection before closing the walls.
Expert Tips To Plan Plumbing for a Kitchen or Bathroom Remodel
1. Start With the Existing Plumbing Layout
The first step is to understand what is already inside the walls and under the floor. During demolition, inspect the supply pipes, drain lines, vent pipes, and main stack for damage or corrosion.
Older homes may have galvanized steel, cast iron, or other outdated materials that could be worth replacing during the remodel. Look for slow leaks, rust, weak joints, and signs of past water damage.
Taking pictures and marking each line can make the new layout easier to plan. This early inspection can also prevent surprises after new cabinets, tile, or drywall are installed.
2. Keep Major Plumbing Fixtures Near Their Current Locations
Keeping fixtures close to their existing locations is one of the easiest ways to control remodeling costs. Moving a toilet, shower, or sink may require new drain routes through floor joists or a concrete slab.
These changes can add labor and may create structural problems. Before moving anything, compare the new layout with the existing plumbing zones. A small adjustment in cabinet or vanity placement may provide the look you want without moving major drainage lines.
Keeping the main drain stack and heavy drainage infrastructure in place can make the project simpler and reduce the amount of pipe rerouting required.
3. Plan Fixture Clearances Before Buying Materials
Every fixture needs enough space for safe and comfortable use. Measure the room carefully and mark the planned location of toilets, sinks, showers, tubs, and cabinets before work begins.
A common toilet rough-in is 12 inches from the finished wall to the center of the drain flange. At least 15 inches of space is generally needed from the toilet centerline to a side wall or nearby fixture.
Sinks should have enough clear space in front for normal use, while a walk-in shower commonly needs a finished area of at least 30 by 30 inches. Local codes may require different measurements.
4. Map the Three Plumbing Systems
A remodel needs more than water pipes. Each fixture connects to three related systems: water supply, drain-waste, and vent piping. The supply system delivers hot and cold water to the fixture.
The drain-waste system carries used water toward the sewer or septic system. The vent system controls air pressure inside the drainage network and helps protect the water seal inside P-traps.
Mapping all three systems before framing starts helps prevent pipe conflicts. It also shows where walls, cabinets, floor joists, and other building parts may affect the plumbing route.
5. Choose the Right Water Supply Pipes
PEX and copper are common choices for residential water supply lines. PEX is flexible and usually needs fewer joints, which can make installation easier. It also comes in red and blue versions that help identify hot and cold water lines.
Copper is durable and has a long history of use in plumbing systems, but installation can require more fittings and skilled soldering.
Supply pipes should be routed carefully and protected from damage. Avoid placing water lines in exterior walls where possible, as temperature changes can increase the risk of freezing and other problems.
6. Add Shut-Off Valves at Every Fixture
Accessible shut-off valves make future plumbing repairs much easier. Each new sink, toilet, dishwasher, or other water fixture should have a dedicated valve that allows its water supply to be stopped without shutting down the entire home.
During the remodel, place these valves where they can be reached without removing cabinets, tile, or finished walls. Flexible supply connections can then connect the valve to the fixture.
This simple part of the rough-in can save time when a faucet needs repair or a supply line leaks. It also makes emergency water control much easier.
7. Size Drain Pipes for Each Fixture
Drain pipes must be large enough to move wastewater without creating repeated blockages. Common residential layouts use about 1.5-inch or 2-inch lines for sinks, while showers and bathtubs generally use 2-inch drains.
Toilets usually connect to a 3-inch or 4-inch drainage line, depending on the plumbing design and local requirements. Kitchen sinks and dishwashers also need suitable drain capacity based on the fixture arrangement.
Pipe sizing should not be based only on what fits the space. Local plumbing codes and the home’s drainage design should guide the final pipe diameter.
8. Maintain the Correct Drain Slope
Horizontal waste pipes need the right slope so wastewater can flow toward the main drain. A common plumbing standard is a downward slope of about 1/4 inch per foot, which is roughly 2 percent.
A pipe with too little slope can allow water and waste to sit inside the line, increasing the chance of buildup and clogs. Too much slope can also create problems because liquid may move faster than solid waste.
Use proper supports to keep pipes at the planned angle during installation. Always confirm the required slope with local code before completing the rough-in.
8. Plan Proper Venting and P-Traps
Vent pipes are an important part of the drainage system because they balance air pressure as wastewater moves through the pipes. Without proper venting, fast-moving water can create negative pressure and pull water out of a P-trap.
The P-trap holds a small amount of water that blocks sewer gases from entering the home. Each fixture needs a properly designed trap and vent connection.
Depending on the layout and local rules, fixture vents may connect to an existing vent stack or use an approved alternative such as an Air Admittance Valve where permitted.
9. Check the Actual Fixtures Before Rough-In
Do not rely only on product listings or estimated fixture dimensions when planning pipe openings. Have the actual tub, shower base, vanity, sink, toilet, or kitchen island available before cutting floors or drilling framing whenever possible.
Small differences in measurements can affect drain locations, water connections, and cabinet placement. Check the manufacturer’s rough-in requirements for each fixture and mark the centerlines carefully.
This is especially important for toilets because the flange location must match the finished wall position. Taking these measurements early can prevent expensive changes after flooring and cabinets are installed.
10. Follow a Safe Plumbing Remodel Sequence
Good timing helps prevent finished work from being damaged. Start with demolition and inspect the exposed plumbing. Next, check floor joists and other structural parts before deciding where new pipes will pass.
Install the drain, supply, and vent lines during the rough-in stage. Once the pipes are connected, cap the lines and perform the required pressure or leak tests. Arrange the needed inspection before covering the plumbing with drywall or other finishes.
After approval, complete the walls, flooring, tile, cabinets, and trim fixtures. This order keeps plumbing problems from being hidden behind finished surfaces.
11. Check Structural and Code Requirements
Plumbing cannot always be moved wherever you want. Floor joists, beams, load-bearing walls, electrical wiring, and other building systems can limit pipe routes. A new drain that lands directly over a joist may require a different layout or approved structural framing changes.
Local building codes also control pipe sizing, venting, fixture clearances, materials, and testing. Permit rules vary by location, so check with the local building department before work begins.
When the project involves major drainage changes, structural work, or complicated vent routes, a licensed plumber can help create a layout that meets both code and practical needs.
12. Test Everything Before Closing the Walls
Never cover new plumbing before it has been checked. Supply lines should be tested for leaks, while drainage and vent connections should be inspected for correct joints, slope, and support.
Depending on local requirements, a plumber or inspector may perform a pressure test using water or air. Look closely at fittings, valves, traps, and connections during testing.
Fixing a leak while the pipes are exposed is far easier than opening a finished wall later. A proper inspection also gives you confidence that the new plumbing system is ready for the next stage of the remodel.
Conclusion
Planning plumbing for a kitchen or bathroom remodel starts with understanding the existing system and keeping major drainage routes in place when possible. Measure the room and actual fixtures before cutting, then map water supply, drain-waste, and vent lines together.
Use suitable pipe materials, correct drain sizes, proper slope, accessible shut-off valves, and approved venting. Check structural limits and local codes before rough-in work, then test and inspect every line before the walls are closed.
If you are planning a kitchen or bathroom remodel and need professional help, contact The Kitchen and Bath Company of Palo Alto for expert guidance and related kitchen or bathroom remodeling services.